How do I add a Google Font to my Premier Theme?
Note: Click here to see Googles Fonts.
Google Fonts can be added to Website Themes, Product Themes and Landing Page Themes. This guide focuses on the Website Theme, but if you are adding to a Landing Page or Product, make sure to start the process in the respective tab.
- First navigate to your Website Tab > Manage theme at the top.

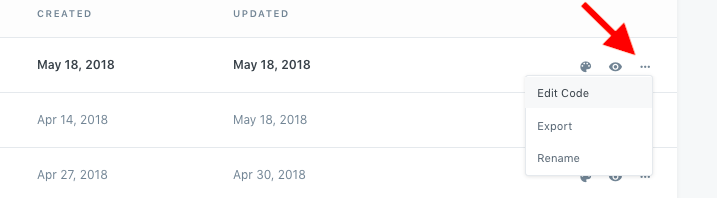
- Next, click on the 3 dots next to your Premier theme and choose "Edit Code":
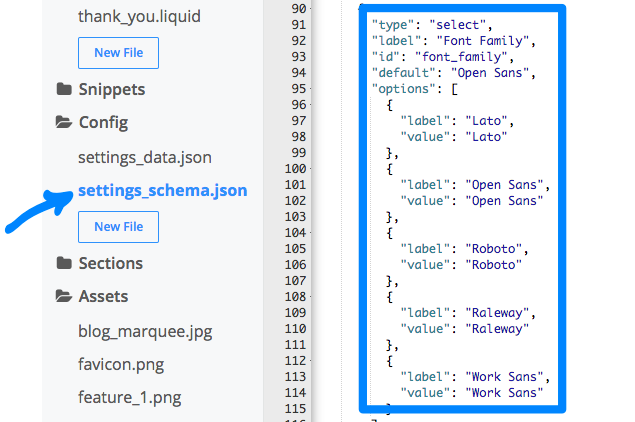
- Click to open settings_schema.json:

- Scroll to line 24 to find the Typography section:
Note: These line number may be different depending on your current settings
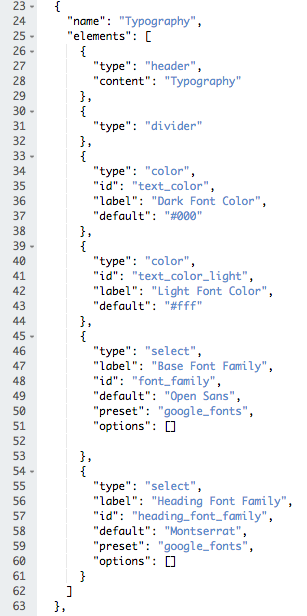
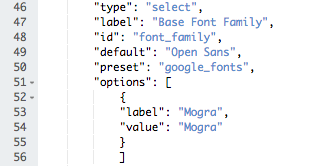
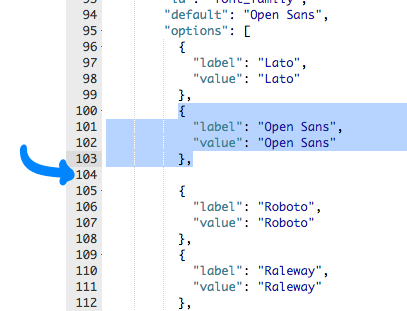
- Notice the closed brackets on lines 51 and 60:
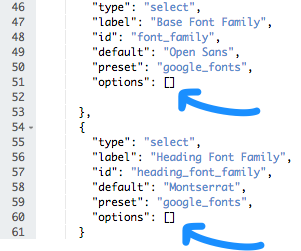
- Adding your font to the upper brackets will add your font as an option for the normal text on your site. Adding your font to the lower brackets will add your font as an option for the Header text on your site. If you would like to add this font as a Setting for both, make sure to complete the following steps for both places. Now, place your cursor in between the brackets and add curly brackets containing these fields:
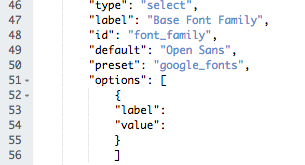
- Next, add your font's title to both lines, adding a comma to the end of the first:
- Then click Save and customize your theme using the Settings button:
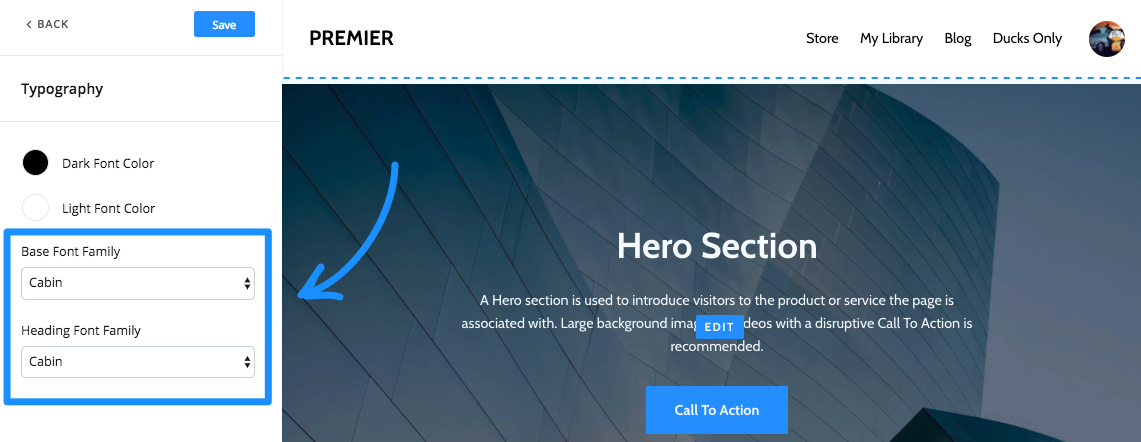
- Click on your Settings tab of the theme editor. (outside the Edit Code area)
- Then click on the Typography section:
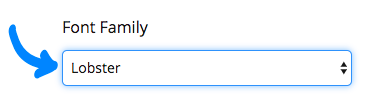
- Next, choose your new font theme from the drop-down menus (They will appear first in the list). Enjoy the new font,
This walkthrough below is for other themes. (non-Premier)
Don't see your font as an option in the theme appearance settings? Follow this guide to learn how to add fonts from the "Google Library".
Note: You can use these same instructions for adding fonts to your product and landing page themes.
For this example, we are going to be using the Lobster font, from Google Fonts library, to add to your website. Let's get started!
- Ok so before we get started, let's examine the image below. You can see that our font list does not contain the Lobster font.
- Now that we've seen the list of current fonts, let's go to our Website tab in our Admin Dashboard, then click Edit Code:
- Once you go into your Edit Code, you'll need to find "settings_schema.json" under your Config folder. This is where we will add your desired font.
- Scroll down in the settings_schema.json index and find the fonts.
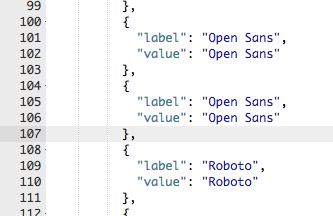
- Now, copy one of the listed fonts shown in this field. You'll need to copy the entire body of text between the "{" and "}," After copying one of the font fields, create an empty line below the one you've chosen. This will be where we paste the copied text for editing:
- Paste the copied text in the open line as shown below. We'll be replacing the newly pasted font with our Lobster font for this example:
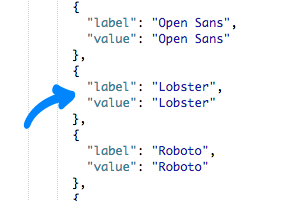
- Now that we have a duplicate pasted under the copied code, we'll replace the name of the font with our desired font name. Again, we'll be using Lobster for this example, so go ahead type your font name in both the "label" & "value" lines. BE SURE TO CLICK SAVE AFTER MAKING THESE CHANGES:
- After clicking Save, go back to the theme editor or the Customize section, and then click Typography. You'll now see that Lobster is a font option, and we can choose it, then click save. Once we click save, you'll see your new font be displayed on your site!